🚨 Note
If you are looking for NS7 & NS6 docs, you can still find them here:
Prerequisites
The docs have been written with no assumptions of the reader's experience, however it does assume knowledge of JavaScript fundamentals. If you are new to JavaScript, we recommend these resources from MDN:
Environment Setup ⚠️
You will want to setup your development machine using the Environment Setup guide here which involves preparing your machine for iOS and Android development as well as installing the NativeScript CLI via npm install -g nativescript
Overview of NativeScript development
Note
The following is a general overview of NativeScript development. To try any of the commands mentioned, be sure you have a proper environment setup first.
NativeScript allows scaffolding projects with various templates to kickstart your app development. Official templates can be found in the Templates GitHub repository and on NPM.
Some of the templates are listed in the NativeScript CLI when creating a new project with ns create, others may be used by passing the --template flag with the template name (NPM package name).
To create a new project, run:
ns create myCoolApp
If you would like to try one of the other templates not listed by ns create run:
ns create myCoolApp --template <template-package-name>
TIP
If you want to skip the interactive prompts, you can pass the following flags:
ns create myCoolApp --angular // or --ng for short
ns create myCoolApp --vue
ns create myCoolApp --vue --ts // for vue with typescript
ns create myCoolApp --react
ns create myCoolApp --js
ns create myCoolApp --svelte
...to create the app with the default template for the specified flavor.
Here are some of the default templates you may want to try:
Blank
A basic template with a single page and no custom styles.
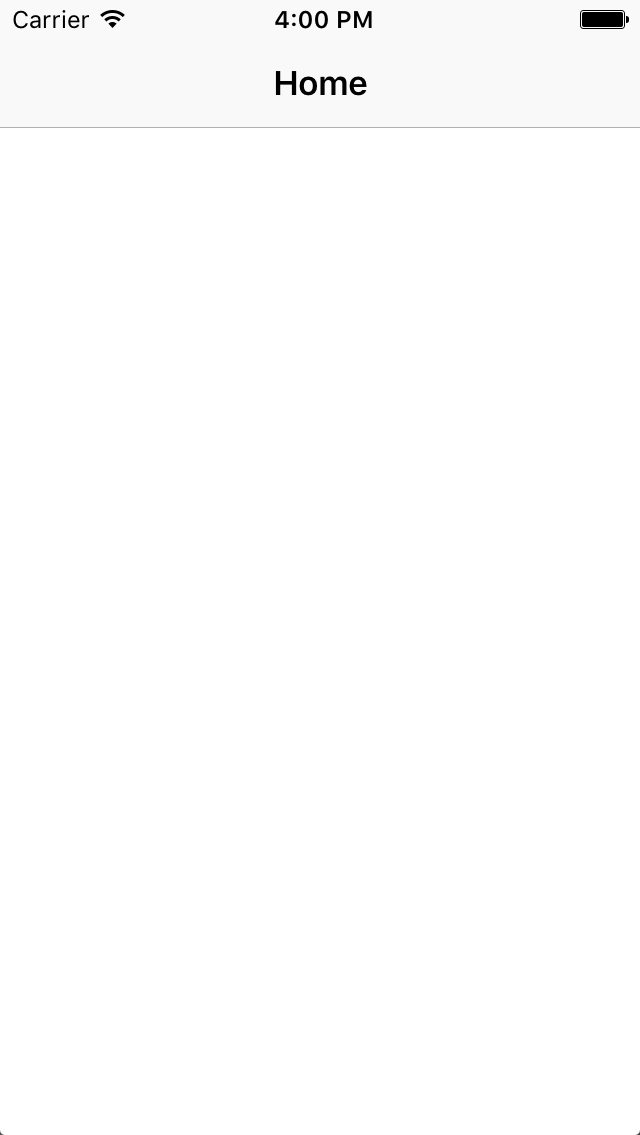
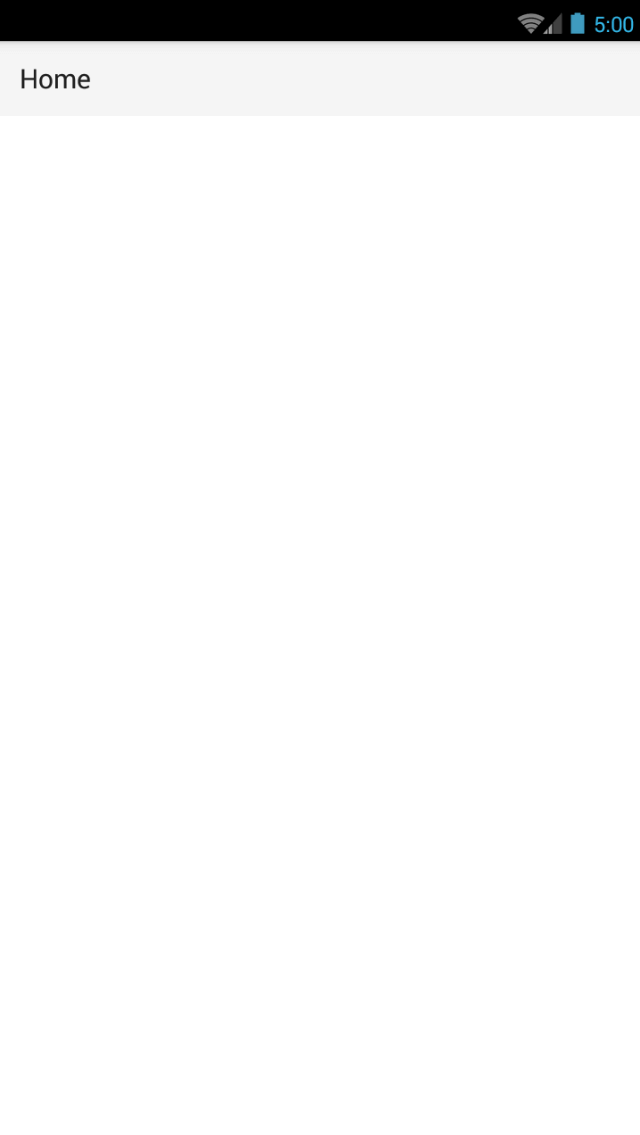
To use, run:
ns create myCoolApp --template @nativescript/template-blank
Drawer
A simple template with a side drawer.
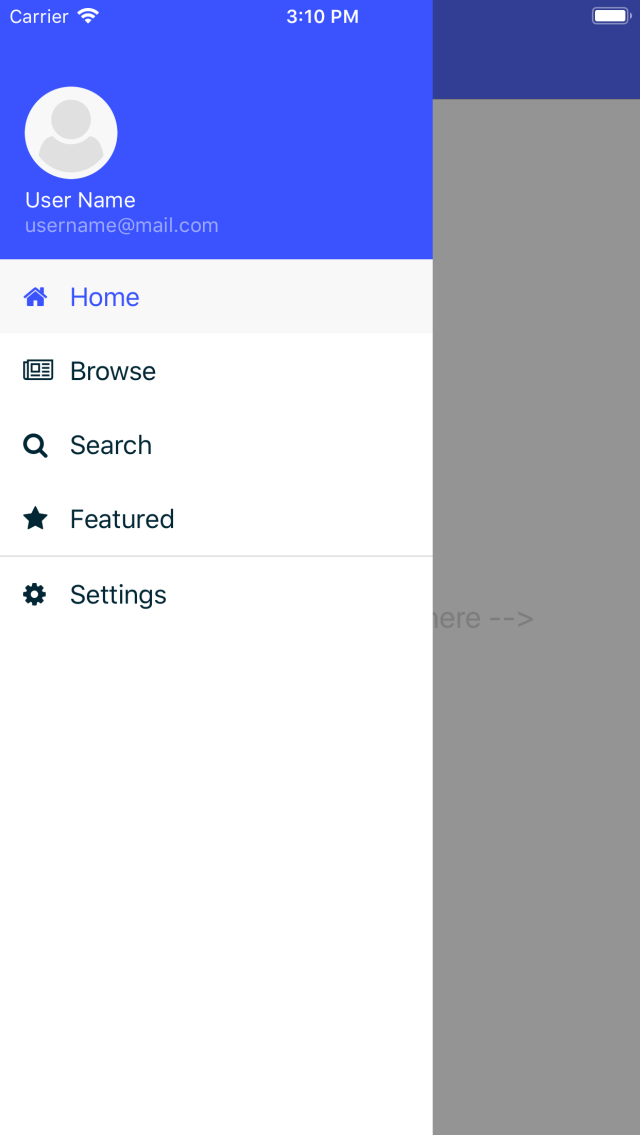
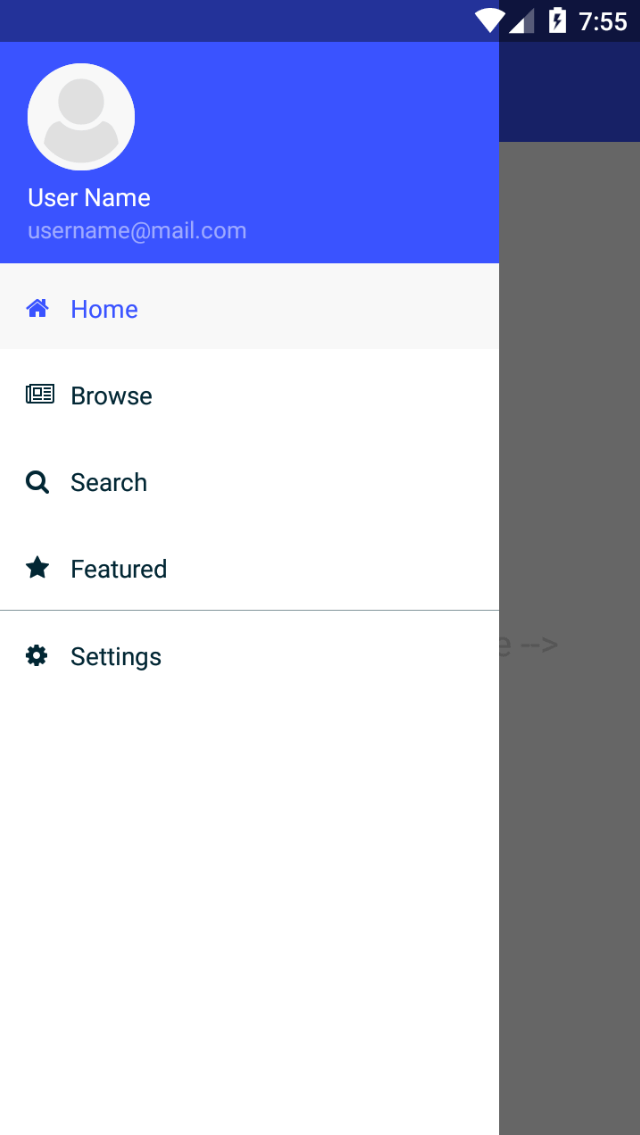
To use, run:
ns create myCoolApp --template @nativescript/template-drawer-navigation
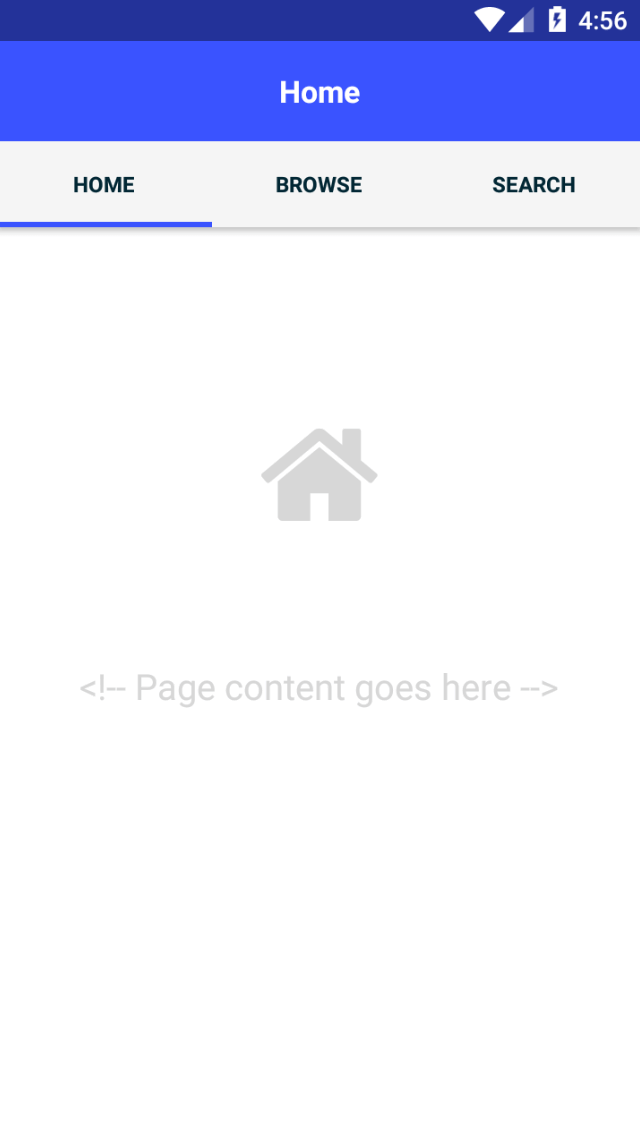
Tabs
A simple template with multiple tabs.
To use, run:
ns create myCoolApp --template @nativescript/template-tab-navigation
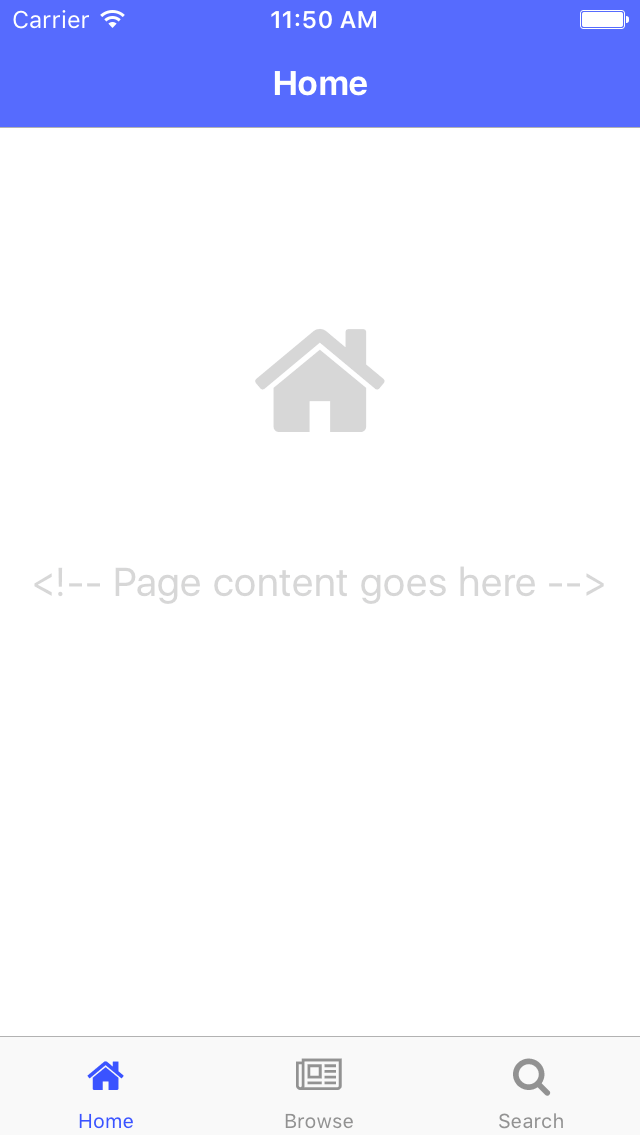
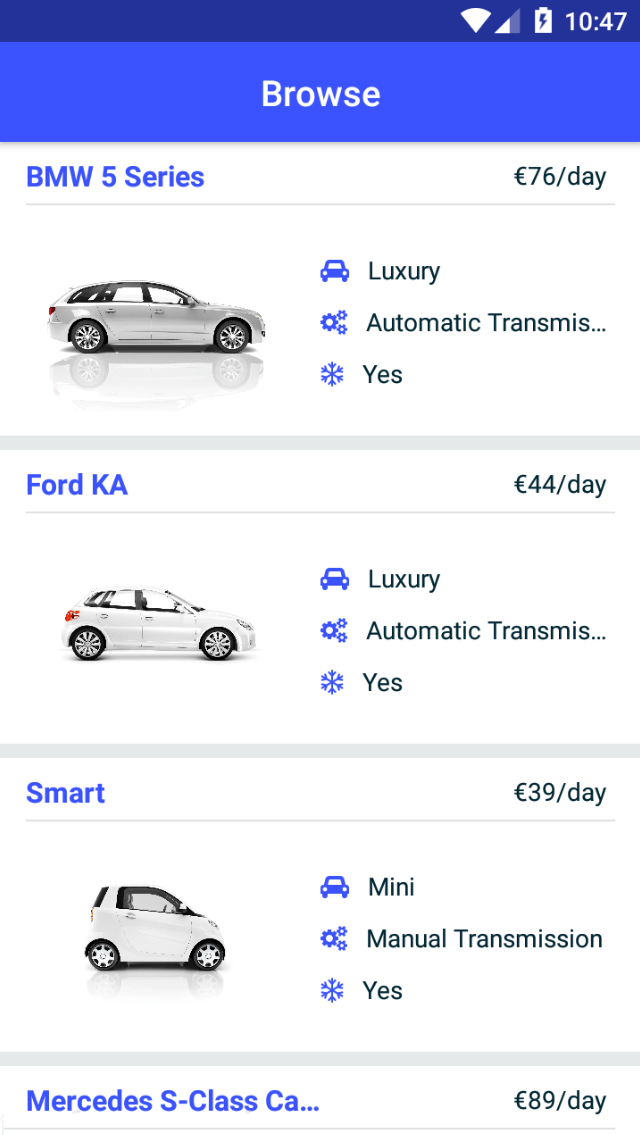
List and Details
A simple template with a ListView and a details screen.

To use, run:
ns create myCoolApp --template @nativescript/template-master-detail
Bring your own
You may create a custom template for your projects. The best place to start is to use one of the Official templates as a base and apply your changes on top.
The easiest way to create your customized template is to clone one of the blank templates. NativeScript templates come in different flavors (Plain JavaScript, TypeScript, Angular and Vue.js) so you could select the blank template for the desired application flavor.
Here is the list of the six main blank templates depending on the coding language preferences.
- Blank Plain JavaScript template
- Blank TypeScript template
- Blank Angular template
- Blank Vue.js template
- Blank React template
- Blank Svelte template
Creating your template is as simple as cloning the chosen template repository and modifying the source code to satisfy your business logic.
git clone https://github.com/NativeScript/template-blank-ts.git
As of NativeScript 4.x.x, the application templates have a mobile application structure, so you could develop your template by following the standard developer workflow.
cd template-blank-ts
npm i
ns run android
# start making code changes
Guidelines
Template Structure Guidelines
Create folders named for the feature area they represent. Each featured area should be placed in a separate folder in the template's folder structure.
Place each page, each view model, and each service in a separate file. Apply the single responsibility principle (SRP) to all pages, all view models, all services, and other symbols. This helps make the app cleaner, easier to read and maintain, and more testable.
Consider creating a folder for a page when it has multiple accompanying files (.ts, .xml, .scss/css, etc.).
Avoid putting all of your app template's code in a root folder named app. When the actual app is created from the template, all of the template's code will indeed go inside a root app folder, but you MUST NOT define this folder in the hierarchy of your template; otherwise, the
ns createCLI command will not function properly.
Package.json Guidelines
Place a
package.jsonfile in the root folder of your app template.
Note this is not the actual root package.json of the generated mobile app – it is only used by thens createCLI command upon app creation. Do not expect that everything you place in your package.json will be transferred to the actual package.json file. Notably,scriptsproperty content is removed. However, if you provide preinstall / postinstall scripts, they will be executed before getting removed. You can use this mechanism to generate/move settings files to the root folder of the generated app and generate actual "scripts" content for the resulting app package.json – see generatingscriptscommands on-the-fly for concrete examples.Provide a value for the
nameproperty using the format: ns-template-[custom-template-name-goes-here]-ts.
Note this property value is NOT transferred to the root package.json file generated by thens createCLI command but can be found in the app/package.json file of the generated app.Provide a value for the
versionproperty following semver rules (e.g. 1.0.0).
Note this property value is NOT transferred to the root package.json file generated by thens createCLI command but can be found in the app/package.json file of the generated app.Provide a value for the
mainproperty specifying the primary entry point to your app (usually app.js).
Note this property value is NOT transferred to the root package.json file generated by thens createCLI command but can be found in the app/package.json file of the generated app.Provide a value for the
androidproperty specifying V8 flags (at a minimum it should be set to"android": { "v8Flags": "--expose_gc" }).
Note this property value is NOT transferred to the root package.json file generated by thens createCLI command but can be found in the app/package.json file of the generated app.Provide a value for the
displayNameproperty (user-friendly template name).
Note this property value is NOT transferred to the root package.json file generated by thens createCLI command.Provide a value for the
repositoryproperty specifying the place where your code lives.Note this property value is NOT transferred to the root package.json file generated by the
ns createCLI command.Note correct
repositoryproperty value is essential for the future integration with NativeScript Marketplace. Check the following section “Marketplace guidelines” for other integration requirements as well.
Provide a value for the following additional set of package.json properties:
description,license,readme,dependencies,devDependencies.
Note these property values are transferred to the root package.json file generated by thens createCLI command. For example, package.json has the following minimal structure:
{
  "name": "@nativescript/template-master-detail-ts",
  "displayName": "Master-Detail",
  "main": "app/app.ts",
  "version": "8.0.0",
  "description": "Master-detail interface to display collection of items from json collection and inspect and edit selected item properties. ",
  "license": "Apache-2.0",
  "readme": "NativeScript Application",
  "repository": {
    "type": "git",
    "url": "https://github.com/NativeScript/nativescript-app-templates"
  },
  "android": {
    "v8Flags": "--expose_gc"
  },
  "dependencies": {
	...
  },
  "devDependencies": {
	...
  }
}
- Provide a value for the
keywords. Keywords can be very helpful for the discoverability of the template. Also, there are special keywords that could be used to make the template appear in the NativeScript marketplace especially and under certain conditions. The following keywords are supported:ux-preview- will add an "Preview & Vote" label on the "preview box" in the search list. It will also enable email registration and voting. This keyword should be used when adding a "preview" of a template that is not implemented but is rather an idea.category-general- will show the template under the "General" tab in the "Templates" page. This is the general or basic category, used to describe "generic" functionality.category-healthcare- will show the template under the "Healthcare" tab in the "Templates" page. This is a special category, used to describe a template with functionality related to the healthcare industry.
Marketplace Guidelines
Publish your app template to npm (https://www.npmjs.com/) using ns-template-[custom-template-name-goes-here]-ts format for the npm package name.
Provide a screenshot preview to be used in a future NativeScript Marketplace integration under tools/assets/marketplace.png in your app template folder structure.
Check tools/postinstall.js that implements a mechanism for removing the "tools" infrastructure folder from the generated app.Provide correct
repositoryproperty value in the root package.json file of your app template (see the "Package.json guidelines" section above for additional package.json requirements).Read more about how to submit your app template to NativeScript Marketplace.
Styling Guidelines
Consider using the NativeScript core theme for styling your app template.
Consider using the following infrastructure to enable cross-platform SASS styling for your app template:
_app-variables.css file in the app template's root folder should import the NativeScript core theme variables, and any custom colors or theme variable overrides you might use:
/*
    Import the theme's variables. If you're using a color scheme
    other than "light", switch the path to the alternative scheme,
    for example 'nativescript-theme-core/scss/dark'.
*/
@import 'nativescript-theme-core/scss/light';

/* Custom colors */
$blue-dark: #022734 !default;
$blue-light: #02556E !default;
$blue-50: rgba($blue-dark, 0.5) !default;

/**
* Theme variables overrides
**/

/*  Colors */
$background: #fff;
$primary: lighten(#000, 13%);
The _app-common.scss file in the app template's root folder should contain any styling rules to be applied both on iOS and Android:
/*
    Place any CSS rules you want to apply on both iOS and Android here.
    This is where the vast majority of your CSS code goes.
*/

/* Font icon */
.fa {
   font-family: "FontAwesome";
}

/* Action bar */
.action-item,
NavigationButton {
    color: $ab-color;
}
The app.android.scss file in the app template's root folder should import the app variables, the NativeScript core theme main ruleset, and the common styles; also place any styling rules to be applied only on Android here:
/* Import app variables */
@import 'app-variables';

/* Import the theme's main ruleset - both index and platform specific. */
@import 'nativescript-theme-core/scss/index';
@import 'nativescript-theme-core/scss/platforms/index.android';

/* Import common styles */
@import 'app-common';

/* Place any CSS rules you want to apply only on Android here */
.action-item {
    padding-right: 10;
    height: 100%;
}
The app.ios.scss file in the app template's root folder should import the app variables, the NativeScript core theme main ruleset, and the common styles; also place any styling rules to be applied only on iOS here:
/* Import app variables */
@import 'app-variables';

/* Import the theme’s main ruleset - both index and platform specific. */
@import 'nativescript-theme-core/scss/index';
@import 'nativescript-theme-core/scss/platforms/index.ios';

/* Import common styles */
@import 'app-common';

/* Place any CSS rules you want to apply only on iOS here */
- Consider using the following infrastructure to enable cross-platform SASS styling on page level: _[page-name]-page.scss in the respective feature folder should contain the style rules to be applied both on iOS and Android for [page-name]-page.ts (e.g. if styling cars/car-list-page.ts, the file should be cars/_car-list-page.scss):
/* Start custom common variables */
@import '../app-variables';
/* End custom common variables */

/* Custom styles */
.list-group {
    .list-group-item {
        padding: 0 0 8 0;
        background-color: $blue-10;

        .list-group-item-content {
            padding: 8 15 4 15;
            background-color: $background-light;
        }

        .fa {
            color: $accent-dark;
        }
    }
}
[page-name]-page.android.scss in the respective feature folder should contain the style rules to be applied only on Android for [page-name]-page.ts (e.g. if styling cars/car-list-page.ts, the file should be cars/car-list-page.android.scss):
@import 'cars-list-page';

/* Place any CSS rules you want to apply only on Android here */
[page-name]-page.ios.scss in the respective feature folder should contain the style rules to be applied only on iOS for [page-name]-page.ts (e.g. if styling cars/car-list-page.ts, the file should be cars/car-list-page.ios.scss):
@import 'cars-list-page';

/* Place any CSS rules you want to apply only on iOS here */